
TL;DR
- Squeaking ebike brakes are usually caused by contaminated pads, glazed pads, a misaligned caliper, or pads that were never bedded in.
- The fix order is: find the cause, clean the rotor, check caliper alignment, bed in the pads, and replace the pads if the noise stays.
- Oily or fluid-soaked pads cannot be saved reliably. Replacement is the dependable fix for oil contamination.
- Most fixes take 30-60 minutes with basic tools and brake cleaner.
- Never spray lubricant, degreaser, or chain lube near the brakes.
Why Do Ebike Brakes Squeak?
Ebike brakes squeak because of vibration between the pad and the rotor, and the usual triggers are contamination, glazing, misalignment, loose hardware, and skipped bed-in. Ebikes make this more common because they are heavier and faster than regular bikes, so the brakes work harder and heat up more.
Here is what each cause looks like in practice:
- Contamination: Brake pads are porous and soak up oils the way a sponge does, so chain lube, polish, degreaser, or brake fluid can make them squeal and lose bite. Touching the rotor with bare fingers can do it too.
- Glazed pads: Overheating or heavy use can leave the pad surface smooth and shiny, which reduces stopping power and causes squeaking.
- Poor bed-in: Pads that were not bedded in correctly can vibrate and make noise.
- Loose or misaligned parts: A rattling rotor or caliper amplifies noise, so fasteners should be torqued to the manufacturer’s specs.
- Worn pads or rotors: Thin pads cannot grip properly and tend to squeal.
How to Tell Which Problem You Have
Listen to when the noise happens, because the timing points to the cause. Squeal while braking suggests pad and rotor contact problems or contamination, while noise when coasting usually means rubbing or a loose rotor.
| Symptom | Likely Cause | Where to Start |
|---|---|---|
| Loud squeal every time you brake | Contaminated pads or rotor | Clean the rotor, inspect the pads |
| Squeal only in wet weather | Glazed pads or contamination | Inspect pads, re-bed after cleaning |
| Squeal at the very end of a stop | Misaligned caliper or poor bed-in | Re-center the caliper, bed in |
| Rhythmic scraping while coasting | Bent rotor or pad rub | Check rotor and caliper alignment |
| Squeal after a crash or a fluid leak | Contamination or damage | Replace pads, inspect the rotor |
What You Need Before You Start
- Disc brake cleaner or isopropyl alcohol, plus clean lint-free rags
- A set of hex keys (Allen keys) and a torque wrench
- Replacement pads that match your brake model
- Nitrile gloves, so skin oil stays off the rotor
- A rotor truing tool, if you suspect a bent rotor
Check your brake type first. Mechanical disc brakes use a cable, and hydraulic disc brakes use sealed fluid lines. Hydraulic bleeding is a separate job, so book a shop visit if you see fluid leaking.
Step 1: Inspect the Pads and Rotor
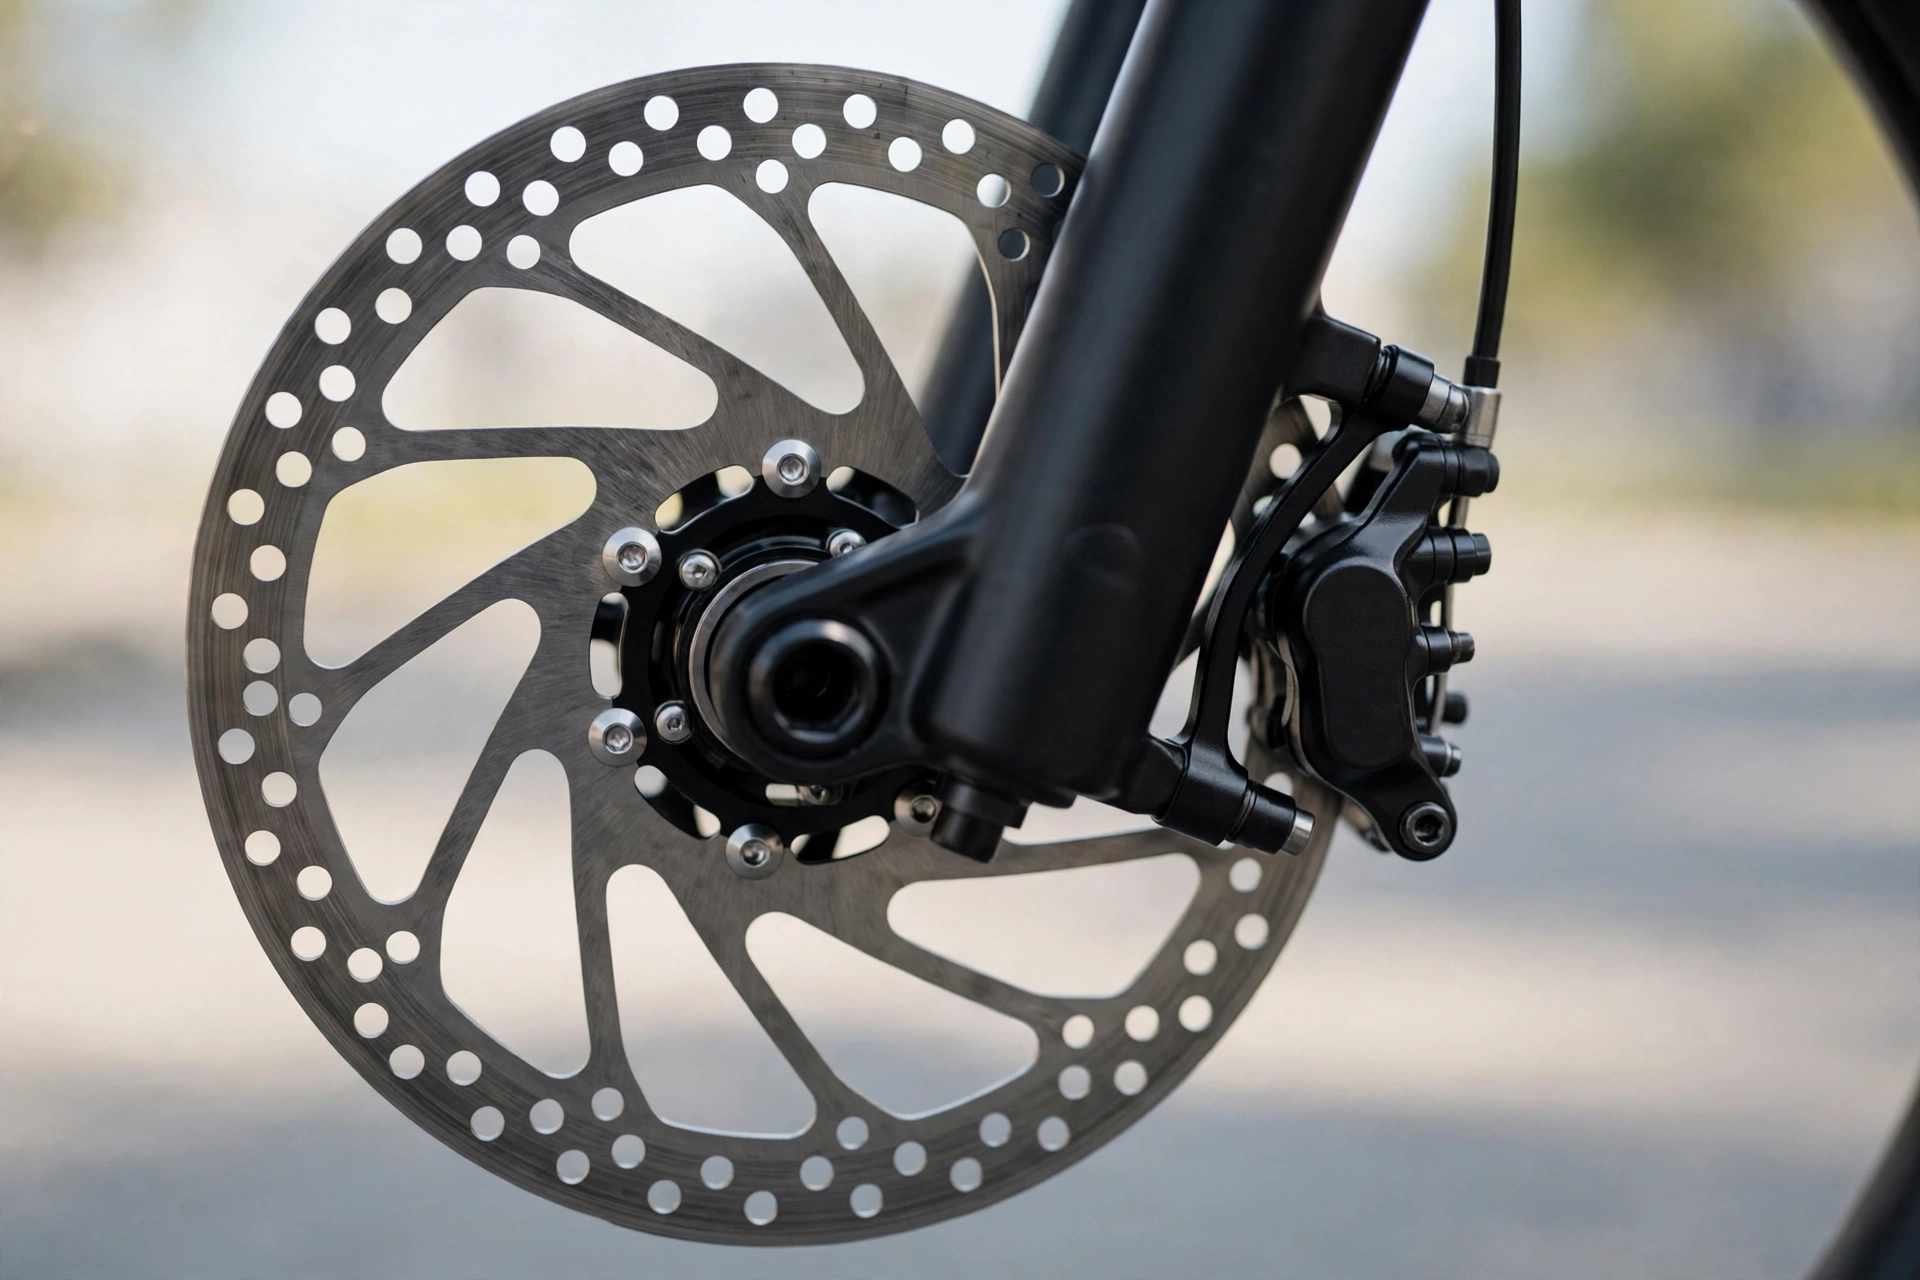
Remove the wheel and look at both pads and the rotor surface. Pads that look dark, wet, or shiny are contaminated or glazed. Pads worn down to the backing plate need replacing no matter what.
Spin the wheel and watch the rotor. A wobble or a bright rub mark on one side points to a bent rotor. Light bends can be corrected, but a rotor with several rub points or severe wobble should be replaced.
Step 2: Clean the Rotor Correctly
Clean the rotor with disc brake cleaner or isopropyl alcohol and let it dry fully. Dedicated disc brake cleaner or isopropyl alcohol is the best choice for this job.
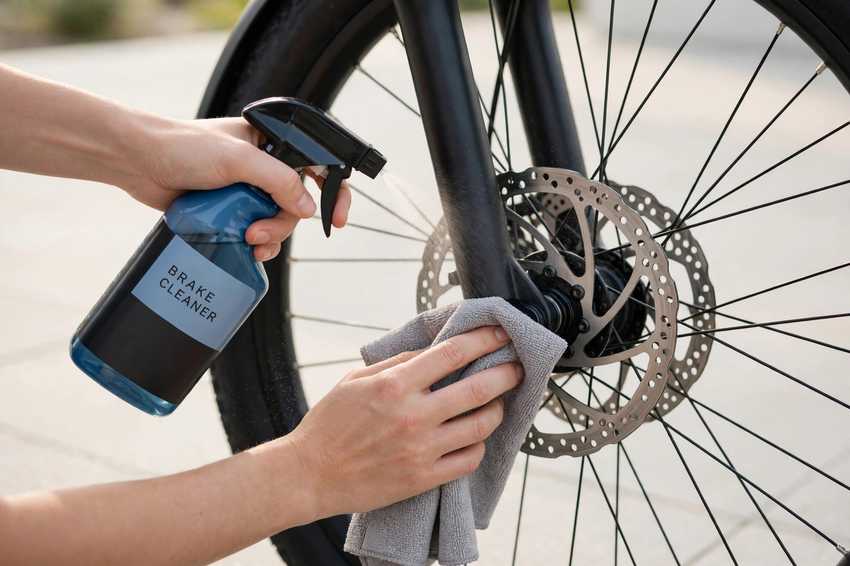
Wipe in one direction with a fresh rag and repeat until the rag comes away clean. Do not touch the braking surface afterward. Oils from skin can recontaminate the rotor.
Keep WD-40 and other sprays away from the brakes. Even overspray from cleaning the chain can soak the pads.
Step 3: Fix Contaminated or Glazed Pads
Decide whether the pads are worth saving. Light dust or road grime can be cleaned off. Pads that are oily, fluid-soaked, or deeply glazed should be replaced.
Some riders sand glazed pads flat with fine sandpaper. This is a short-term fix at best, and BikeRadar-style workshop guides favor fresh pads. When fitting new pads, scrupulously clean the rotor and caliper first so old contaminants do not reach the new pads.
Step 4: Re-Center the Caliper and Torque the Bolts
A caliper that sits off-center makes one pad drag. Loosen the caliper mounting bolts slightly, squeeze the brake lever to center the caliper over the rotor, and hold the lever while you tighten the bolts.
Use a torque wrench and the values printed in your brake manufacturer’s manual. Loose rotor bolts and caliper bolts cause vibration, which is often the whole problem.
Step 5: Bed In the Brake Pads
Bedding in transfers a thin, even layer of pad material onto the rotor, and that layer quiets the brake. Ride at walking pace, apply both brakes evenly until you almost stop, release, and repeat 10 to 15 times.
Do not come to a full stop with the brakes held on. Holding the brake at a stop can leave an uneven coating on the rotor, which causes squeal.
Note that cleaning a rotor strips this layer, so re-bed after every clean.
Step 6: Check Your Ebike’s Brake Cutoff Sensors
Many ebikes have sensors in the brake levers that cut motor power when you brake. These sensors do not cause squeaking directly. A sensor that sticks, though, can keep the motor pushing against a brake that is lightly dragging, which makes noise and heats the pads.
Check that the levers return fully and that the motor stops assisting when you pull them. If pads rub with the motor running but not when you spin the wheel by hand, ask the dealer to inspect the sensor.
Common Problems and How to Fix Them
| Problem | Likely Cause | Solution |
|---|---|---|
| Squeal returns after cleaning | Contaminated pads | Replace the pads, clean the rotor, bed in again |
| Brakes are quiet but weak | Glazed pads or oil on the rotor | Replace pads, clean the rotor with isopropyl alcohol |
| Squeal only when wet | Glazed pads | Replace pads and bed in |
| Noise gets worse after cleaning | Bed-in layer was stripped | Repeat the bed-in procedure |
| Rotor rubs at one spot | Bent rotor | True lightly with a truing tool or replace the rotor |
Frequently Asked Questions About Squeaking Ebike Brakes
Contamination, glazed pads, or a missing bed-in are the usual causes. Squealing under braking means the pad and rotor are vibrating against each other. Cleaning the rotor and re-bedding the pads fixes most cases.
Sometimes. Cleaning is a good first step, but if the pads are contaminated or glazed, the noise will come back. Those pads usually need replacing.
Squeaking alone does not mean the brakes have failed, but it often signals contamination or wear that cuts stopping power. Ebikes are heavy, so test the brakes at low speed before your next ride and fix the cause quickly.
Replace them when the friction material is nearly gone or after any oil contamination. Ebike pads wear faster than regular bike pads because of the extra weight and speed, so check them at regular intervals.
No. Oil-based sprays soak into the pads and ruin braking power. Use only disc brake cleaner or isopropyl alcohol on the rotor.
Water exposes glazing and light contamination that stays hidden when dry. Fresh pads that are bedded in after cleaning usually help in wet conditions.
Quick Recap: The Fix Order
- Inspect pads and rotor for contamination, glazing, and wear.
- Clean the rotor with disc brake cleaner or isopropyl alcohol.
- Replace oily, glazed, or thin pads.
- Center the caliper and torque all bolts to spec.
- Bed in the pads, then test at low speed.
- See a shop if the noise stays or you notice fluid, a soft lever, or weak braking.
References
- BikeRadar – How to silence disc brakes: 9 ways to fix squeaking, squealing or honking disc brakes: https://www.bikeradar.com/advice/workshop/how-to-silence-disc-brakes
- iFixit – Bicycle Disc Brakes Squeaking: https://www.ifixit.com/Wiki/Bicycle_Disc_Brakes_Squeaking
- Liv Cycling – How to Fix Squeaky Disc Brakes: https://www.liv-cycling.com/it/campaigns/how-to-fix-squeaky-disc-brakes/20209

Leave a Reply