
TL;DR
- Most ebike disc brake rub is fixed by re-centering the caliper, which takes about 10 minutes and a hex key.
- Check that the wheel is fully seated first, because a crooked wheel mimics a brake problem.
- Squeeze the brake lever while retightening the caliper bolts so the caliper centers itself over the rotor.
- A bent rotor needs a truing fork, and sticky pistons need cleaning, but both are less common causes.
- Ebikes are heavier and faster than regular bikes, so test your brakes at low speed before riding.
What Causes Rubbing on eBike Disc Brakes?
Rubbing happens when the brake pads touch the rotor (the metal disc, also called the disc) while the lever is released. The usual cause is a caliper that sits slightly off-center. Other causes are a wheel that is not fully seated, a bent rotor, or pistons that do not retract.
Ebikes make rub more likely for two reasons. The motor and battery add weight, which puts more load on the wheel mounts. Hub motor wheels are also removed more often for tire repairs, and each reinstall can shift the rotor a fraction of a millimeter.
A light, occasional tick as the wheel turns is common and mostly harmless. A constant scrape that slows the wheel, drains battery range, or heats the rotor needs fixing.
What Tools Do You Need to Adjust Ebike Disc Brakes?
You need a hex key set (4 mm or 5 mm fits most caliper bolts), a clean rag, and isopropyl alcohol. A bike stand makes the job much easier on a heavy ebike, and a torque wrench helps with the final tightening.
Optional tools solve specific problems:
- A rotor truing fork straightens a bent rotor.
- A caliper alignment tool or a folded business card sets an even gap on both sides of the rotor.
- A piston press tool or a plastic tire lever pushes the pistons back into the caliper.
Keep oil, grease, and hand lotion away from the pads and rotor. Contaminated pads lose stopping power and often need replacing (Park Tool; Jim Langley, Road Bike Rider).
Step 1: Turn Off the Motor and Find Where the Rotor Rubs
Switch the ebike off and remove the battery or disconnect the display before touching the wheel. This stops the motor from engaging if the pedals or a throttle get bumped. Then lift the wheel or put the bike on a stand and spin it slowly.
Listen for the scraping sound and watch the rotor as it passes through the caliper. Note whether the rub is constant or only at one spot.
- A constant rub on one side usually means the caliper is off-center.
- A rub that appears once per rotation points to a bent rotor.
- A rub that comes and goes with the wheel position points to a wheel seating issue.
Step 2: Check That the Wheel Is Fully Seated
A wheel that is not fully seated in the dropouts (the slots in the frame or fork where the axle sits) shifts the rotor sideways. Remove the wheel, set the axle fully into the dropouts, and tighten the thru-axle or axle nuts to the manufacturer’s torque spec.
On hub motor ebikes, also check the torque arm if your bike has one. This is a metal bracket that stops the axle from spinning under motor power. A loose or misplaced torque arm can tilt the wheel.
Spin the wheel again. Park Tool’s alignment guide lists wheel seating as the first thing to rule out before touching the caliper.
Step 3: Re-Center the Caliper Over the Rotor
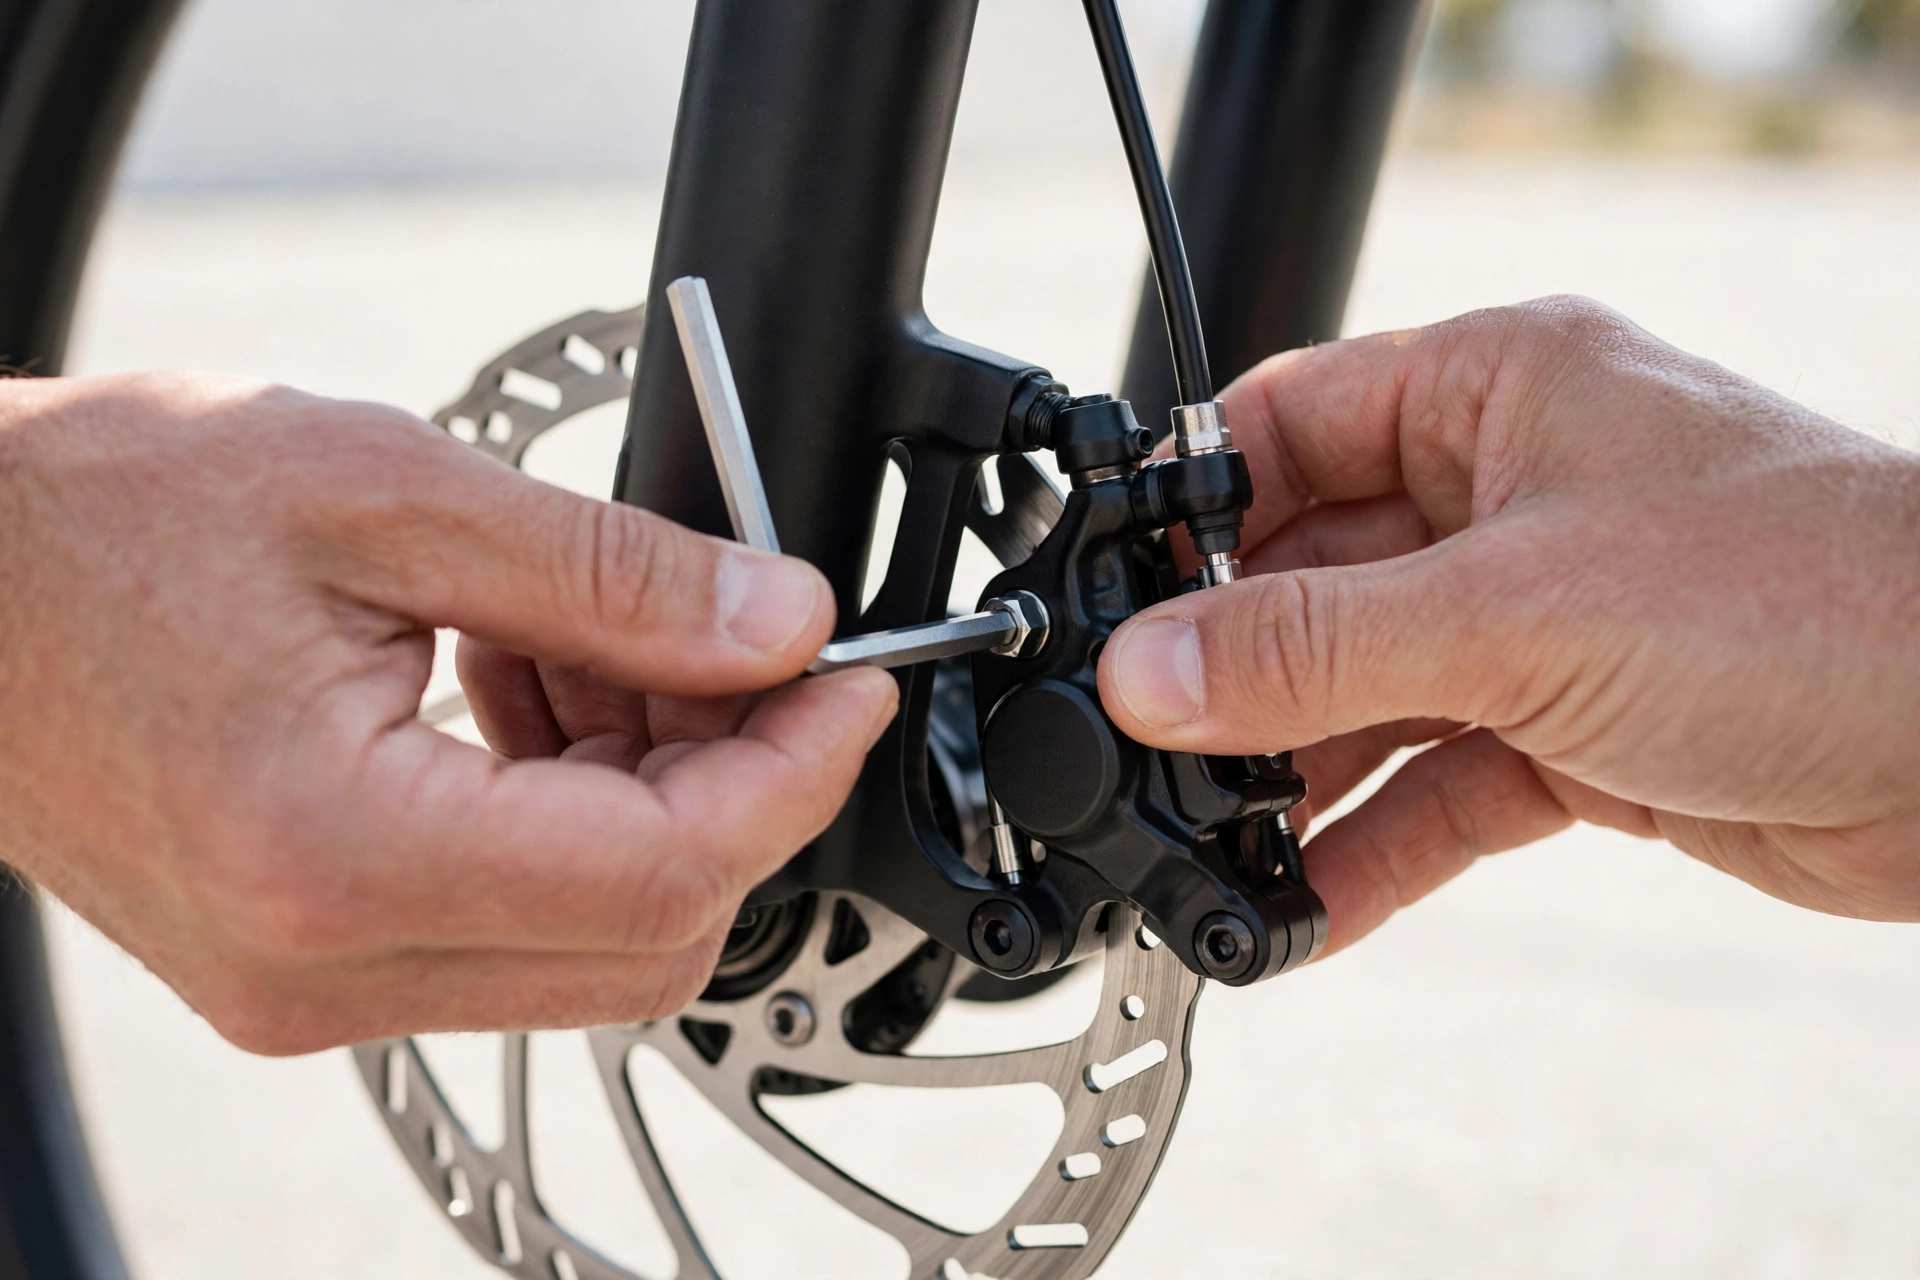
Re-centering the caliper fixes most rubbing. Loosen the two caliper mounting bolts until the caliper moves side to side by hand, but do not remove them. The mounting holes are slotted, which allows that sideways movement.

Then follow this sequence:
- Squeeze the brake lever and hold it. This clamps the pads onto the rotor and pulls the caliper into the center position.
- While holding the lever, snug both caliper bolts evenly, one a little at a time.
- Release the lever and spin the wheel.
- If the rub is gone, tighten the bolts fully to the torque marked on the caliper or listed in the manual.
Retighten carefully, because bolts can pull the caliper sideways as they snug down. Worldwide Cyclery notes that the lever-squeeze method is a good starting point but often needs a little extra finesse.
Step 4: Use a Spacer If the Lever Method Does Not Work
If the rotor still touches one pad, set an even gap on both sides by hand. Loosen the caliper bolts again and slide a caliper alignment tool or a folded business card between each side of the rotor and the pads.
Tighten the bolts evenly with the spacer in place, then remove it and spin the wheel. Some mechanics prefer this method because it gives a repeatable gap. Others find the lever method faster, and both work.
Some frames have mounts that are not perfectly square to the rotor. Road Bike Rider points out that caliper alignment alone cannot fix this in some cases, and a shop can face the mounts with a dedicated tool.
Step 5: Straighten a Bent Rotor
A bent rotor rubs at the same spot on every turn. A rotor truing fork bends the metal back in small increments, and the process is slow by design.
- Spin the wheel and find the exact spot where the rotor touches the pad.
- Fit the truing fork over the rotor at that spot.
- Bend the rotor a tiny amount away from the contact point.
- Spin the wheel again and repeat until the rotor runs straight.
Make small adjustments only. Rotors are thin, and overbending can crack or weaken them. If the rotor is deeply warped, worn below its minimum thickness (marked on the rotor), or has cracks, replace it.
Step 6: Free Sticky Pistons on Hydraulic Brakes
Sticky pistons fail to retract after you release the lever, so the pads stay pressed against the rotor. This is common when the caliper is dirty from road grime and brake dust. Hydraulic brakes use fluid in a sealed line, while mechanical brakes use a cable.
For hydraulic calipers:
- Remove the wheel and the pads.
- Clean the exposed pistons with a rag and isopropyl alcohol.
- Gently push each piston back with a piston press tool or a plastic lever.
- Reinstall the pads and wheel, then pump the lever until it feels firm.
BikeGremlin and Park Tool both cover this process in detail. If the lever feels spongy or the pistons will not move, the brake may need a fluid bleed, which is best left to a shop.
Mechanical vs. Hydraulic Ebike Disc Brakes
Both types use the same caliper alignment process, but they differ in how the pads reach the rotor. Mechanical brakes pull a cable to move the pads, so one pad is often fixed and the other moves. Hydraulic brakes push both pads with fluid.
| Feature | Mechanical Disc Brakes | Hydraulic Disc Brakes |
|---|---|---|
| Actuation | Steel cable | Sealed fluid line |
| Pad adjustment | Manual, via dials or screws | Self-adjusting as pads wear |
| Common rub cause | Cable stretch or uneven pad position | Sticky pistons or off-center caliper |
| Maintenance | Cable replacement, pad dial tuning | Fluid bleed, piston cleaning |
On mechanical brakes, you may need to turn the pad adjuster dials after centering the caliper to set the gap on each side.
Common Problems After Adjusting Ebike Disc Brakes
| Problem | Likely Cause | Solution |
|---|---|---|
| Rub returns after a few rides | Loose caliper bolts or axle | Retighten to torque spec |
| Rub only at one spot | Bent rotor | Use a truing fork |
| Squealing when braking | Contaminated pads or rotor | Clean with isopropyl alcohol or replace pads |
| Lever pulls to the handlebar | Worn pads or air in fluid | Check pad thickness, then bleed if needed |
| Rub appears after a wheel change | Wheel not seated | Reseat the axle and recheck |
Frequently Asked Questions About Ebike Disc Brake Adjustment
The most common reason is a caliper that sits slightly off-center. A wheel that is not fully seated, a bent rotor, or sticky pistons can also cause it. Rule out wheel seating first, then check the caliper.
Loosen the caliper bolts, squeeze the brake lever, and retighten the bolts while holding the lever. Spin the wheel to confirm the rub is gone. If it persists, use a spacer to set an even gap or straighten the rotor.
A faint, brief tick can be normal, especially after a wheel change or a ride in wet conditions. A constant scrape that slows the wheel is not normal and wastes battery range.
Adjust them whenever you hear rub, and inspect them after any wheel removal. Check pad thickness regularly, since ebikes wear pads faster than regular bikes because of their weight and speed.
Yes. A hex key, a clean rag, and a business card handle most caliper alignments. A truing fork and piston press tool are only needed for bent rotors and stuck pistons.
Go to a shop if the rotor is cracked or below minimum thickness, the lever feels spongy, the pistons will not move, or the frame mounts are misaligned. These problems involve safety parts or specialized tools.
Summary
- Rule out wheel seating, then re-center the caliper using the lever-squeeze method.
- Use a spacer or business card if the first attempt leaves a rub.
- Straighten a bent rotor with a truing fork, in small steps.
- Clean sticky pistons on hydraulic brakes, and keep oil off the pads and rotor.
- Test the brakes at low speed before riding.
References
- Park Tool, “Hydraulic Disc Brake Alignment”: https://www.parktool.com/en-us/blog/repair-help/hydraulic-disc-brake-alignment
- Park Tool, “Mechanical Disc Brake Alignment”: https://www.parktool.com/en-us/blog/repair-help/mechanical-disc-brake-alignment
- BikeGremlin, “Eliminating Disc Brake Rub”: https://bike.bikegremlin.com/7975/disc-brake-rub/

Leave a Reply