
TL;DR
- Truing an ebike wheel means adjusting spoke tension with a spoke wrench until the rim spins straight, and most side-to-side wobble is fixable at home in 30 to 60 minutes.
- Turn each spoke nipple a quarter turn or less per adjustment, and spread the correction across two or three neighboring spokes.
- Tightening a spoke pulls the rim toward that spoke’s side of the wheel, so fix a bulge by tightening spokes on the opposite side.
- A broken spoke, a cracked rim, or a dent in the rim needs a repair shop, not more truing.
- Unplug the battery and motor cable before touching a hub motor wheel.
What Does It Mean to True an Ebike Wheel?
Truing a wheel is the process of changing spoke tension so the rim spins in a straight, round path. A bicycle wheel holds its shape through tension, with the spokes suspending the rim around the hub (Park Tool).
Four things are involved:
- Lateral trueness: side-to-side straightness, which is the wobble you can see.
- Radial trueness: roundness, or the up-and-down hop.
- Dish: whether the rim sits centered between the hub’s locknuts.
- Tension: how tight the spokes are overall and how evenly.
This guide focuses on lateral wobble, the most common problem after a pothole or a hard curb hit.
Why Ebike Wheels Go Out of True Faster
Ebike wheels carry more weight and torque than regular bike wheels, so spokes loosen and rims shift sooner. A motor, a battery, and a heavier rider all add load, and a hub motor wheel is heavier still.
Ebikes also tend to use thicker spokes and stronger rims. That makes each adjustment feel stiffer, but the method is the same as on any bike wheel.
What Tools Do You Need to True an Ebike Wheel?
The only mandatory tool is a spoke wrench that fits your nipples exactly. The two most common sizes are 3.2 mm and 3.5 mm across the flats (Park Tool). Check the nipple size before buying, because a wrong-size wrench rounds off the nipple and makes the repair much harder.
Useful extras:
- A truing stand, or your bike frame with a zip tie taped to act as a pointer.
- A spoke tension meter, such as the Park Tool TM-1, if you want to measure evenness.
- A drop of light oil for stiff or corroded threads.
- A hex key set for removing the wheel.
How to Prepare the Wheel Before You Start
Remove the wheel from the bike, or at least lift it off the ground and make sure the tire is properly seated. An improperly seated tire can look like an out-of-true wheel (Park Tool), so check that first.
For a hub motor wheel, follow this order:
- Switch off the system and remove the battery.
- Unplug the motor cable at its connector.
- Loosen the axle nuts and note the position of any torque arm and washers.
- Lift the wheel out and reinstall it later in the same order.
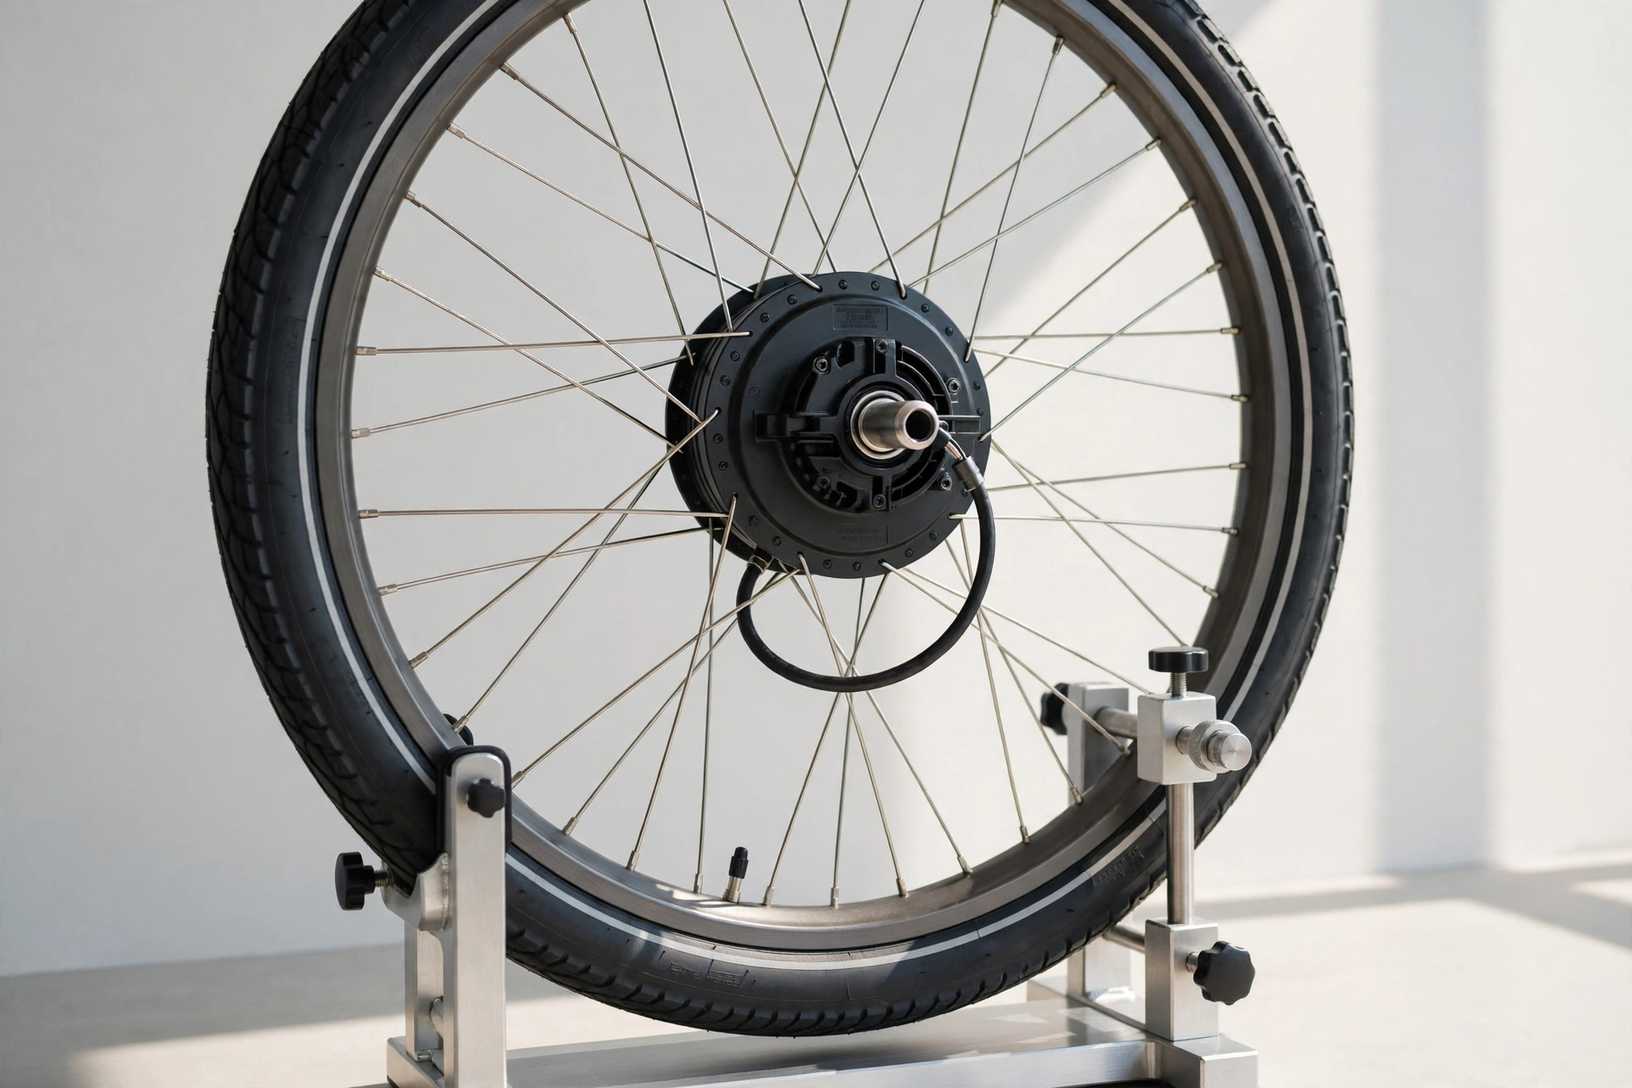
Mount the wheel in a stand. If you have no stand, leave it on the bike and fix a zip tie to the fork or chainstay so its tip sits close to the rim.
How to Find the Wobble
Spin the wheel slowly and watch the gap between the rim and your pointer. Tighten the pointer or the stand’s calipers until they barely touch the rim at the point of greatest sideways deviation. Mark that spot with tape or a marker.
Check disc brake rotors separately. A bent rotor can scrape the brake pads and look like a wobbly wheel when the rim is fine.
How to Fix Lateral Wobble Step by Step
Pull the rim toward the side it needs to go by tightening the spokes on that side, or by loosening the spokes on the opposite side. Tightening a spoke pulls the rim toward the side where that spoke attaches to the hub.

Step 1: Tighten or loosen a few spokes at the wobble
Say the rim bulges to the right at your marked spot. Tighten two or three spokes on the left side in that area, or loosen the right-side spokes there. On a stand, the nipple appears upside down, so tightening looks like turning counterclockwise (Park Tool).
Step 2: Use quarter turns at most
Turn each nipple no more than a quarter turn at a time. Adjust two or three spokes across the wobble instead of forcing one spoke (BikeTips). Big turns on a single spoke create a new wobble somewhere else.
Step 3: Spin and recheck
After each round of adjustments, spin the wheel and see where the rim touches now. Park Tool’s method is to make three corrections on one side, then switch to the opposite indicator.
Step 4: Fix the opposite side
Once the first spot is straight, move to the next section that rubs the pointer. Work around the wheel until the rim passes the pointer with a steady, small gap everywhere.
Step 5: Relieve spoke stress
Squeeze pairs of parallel spokes together with your hands, working around the wheel. This settles the spokes and removes false tension from friction in the nipples. Then recheck the wobble, since the wheel often shifts slightly.
How to Check Radial Hop and Dish After Truing
After the side-to-side wobble is gone, check for up-and-down hop. Fixing hop can disturb the lateral true, so always recheck lateral trueness after any radial correction (Upway).
Then check dish. Flip the wheel in the stand and compare the rim’s distance from the pointer on each side. If the gaps differ, the rim is off-center and the wheel will sit crooked in the frame.
When to Stop and Take the Wheel to a Shop
A repair shop is the right call when truing cannot solve the actual problem. Truing only changes spoke tension, so it cannot fix a bent or dented rim. A flat spot in the metal stays even after the wobble is pulled out.
Take the wheel in if you find any of these:
- One or more broken spokes, which need replacement before truing.
- A crack around a spoke hole or on the rim wall.
- A section that will not straighten after repeated small adjustments.
- Many loose spokes at once, which points to a wheel that needs retensioning.
- A hub motor with damaged cables or a loose axle.
Common Mistakes When Truing an Ebike Wheel
Most truing failures come from three habits: turning too far, fixing only the symptom, and ignoring tension.
If a section will not straighten, the cause is usually a neighboring spoke, not the one you keep tightening (BikeTips). A wheel that looks true but has slack spokes will not stay true, so address tension as part of the job. Using the wrong wrench size is the other common error, and it rounds nipples quickly.
Frequently Asked Questions About Truing an Ebike Wheel
Wheel truing is the adjustment of spoke tension to make a rim spin straight and round. A spoke wrench turns the nipples, which pull the rim toward one side of the hub or the other.
A simple lateral wobble usually takes 30 to 60 minutes for a first-timer. Heavier ebike spokes and a stubborn wheel can push that longer, so work slowly and recheck often.
Yes. Leave the wheel on the frame and fix a zip tie to the fork or chainstay so its tip sits near the rim. It is less accurate than a stand, but it works for fixing a visible wobble.
Turn each nipple a quarter turn or less per adjustment, and spread the correction across two or three spokes. Small, repeated adjustments avoid creating new wobbles.
Uneven or low spoke tension is the usual cause. A wheel can be straight but still have wildly uneven tension, so it drifts out of true after a few rides. A spoke tension meter helps check evenness.
A slight wobble is usually rideable for a short trip, but a large wobble can rub the brake pads and stress the spokes. Broken spokes or a cracked rim make the wheel unsafe, so stop riding and get it repaired.
References
- Park Tool, “Wheel Truing (Lateral & Radial)”: https://www.parktool.com/en-us/blog/repair-help/wheel-and-rim-truing
- Park Tool, “How Wheel Truing Works”: https://www.parktool.com/en-us/blog/repair-help/how-wheel-truing-works
- Upway, “How to True a Bicycle Wheel: Step-by-Step Guide to Fix Wobbles”: https://upway.co/blogs/news/how-to-true-a-bicycle-wheel

Leave a Reply