
TL;DR
- An e-bike (electric bike) chain that keeps falling off is nearly always a mechanical problem: a worn chain, a bent derailleur hanger, or derailleur limit screws set wrong.
- Work in order: note where the chain falls off, clean it, check wear, check tension, check alignment, adjust limit screws, then add a chain guide if needed.
- Turn the bike off and remove the battery or key before touching the drivetrain, because a motor that wakes up mid-repair can pinch fingers.
- Turn the limit screws a quarter turn at a time. Large adjustments often create new problems (BikeTips, 2026).
- If the chain still falls off after all seven steps, a bent chainring or frame problem needs a bike shop.
Why Does an E-Bike Chain Keep Falling Off?
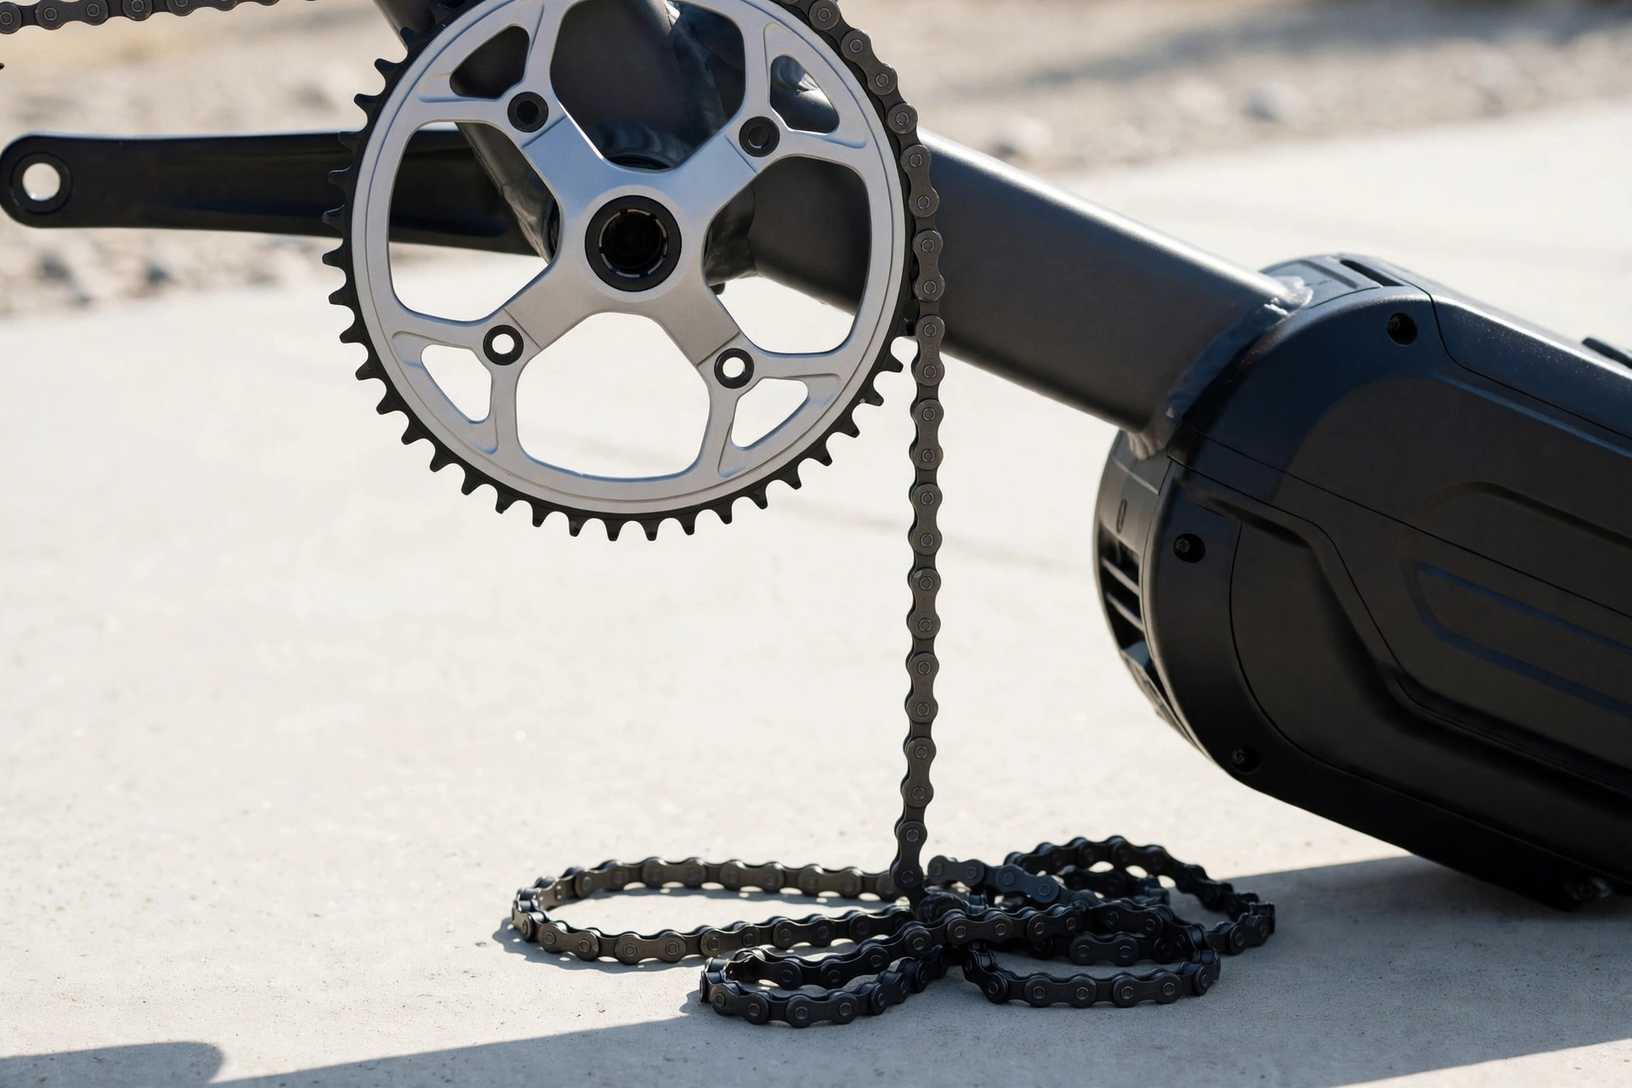
An e-bike chain falls off when something stops it from sitting straight on the chainring (the toothed front ring) or cassette (the stack of rear gears). The usual causes are a stretched chain, a bent derailleur hanger, wrongly set limit screws, a loose chain, or dirt.
E-bikes make these faults show up sooner. A mid-drive motor (a motor mounted at the pedals) pushes much more torque through the chain than a rider alone, so a chain that is slightly worn or misaligned fails faster. Heavier frames also put more stress on the rear wheel and chain.
Here is a quick map of symptom to likely cause:
| Where the chain falls off | Most likely cause |
|---|---|
| Off the big front ring when pedaling hard | Front derailleur outer limit screw set too loose |
| Off the small front ring onto the frame | Front derailleur inner limit screw set too loose |
| Off the cassette during a shift | Rear derailleur limit screw or bent hanger |
| Randomly on bumps, any gear | Chain too long, worn, or a stiff link |
| Only when you accelerate with motor assist | Worn chain or chainring, or shifting under load |
What You Need Before You Start
You need a few basic tools and about 30 minutes. None of the steps below require special e-bike equipment.
- A small Phillips or flat screwdriver for the limit screws
- A degreaser, a rag, and bike chain lubricant
- A chain wear checker (a cheap gauge that measures chain stretch)
- A set of hex keys (Allen keys) that fit your axle and derailleur bolts
- Your bike’s manual, if you have a rear hub motor, because axle nut torque differs between models
Switch the bike off and remove the battery or key first. Then put the chain back on by hand, lifting the rear wheel and turning the pedals while you guide the chain onto the chainring.
Step 1: Find Out Exactly Where and When the Chain Falls Off
The location and timing of the problem point straight to the cause, so test before you adjust anything. Shift through every gear on a stand or with the rear wheel lifted, and note which gear makes the chain fall off and to which side.
If it falls off during a shift into the highest or lowest gear, the limit screws are the likely cause. If it falls off on bumps in any gear, look at chain length, wear, and tension instead. Write down what you find, because it tells you which of the steps below to focus on.
Step 2: Clean and Lubricate the Chain
A dirty chain can bind, skip, and jump off, so cleaning it is the cheapest first fix. Spray degreaser on the chain and cassette, scrub with a rag or brush, rinse, and dry fully. Then apply one drop of lubricant per link and wipe off the excess.
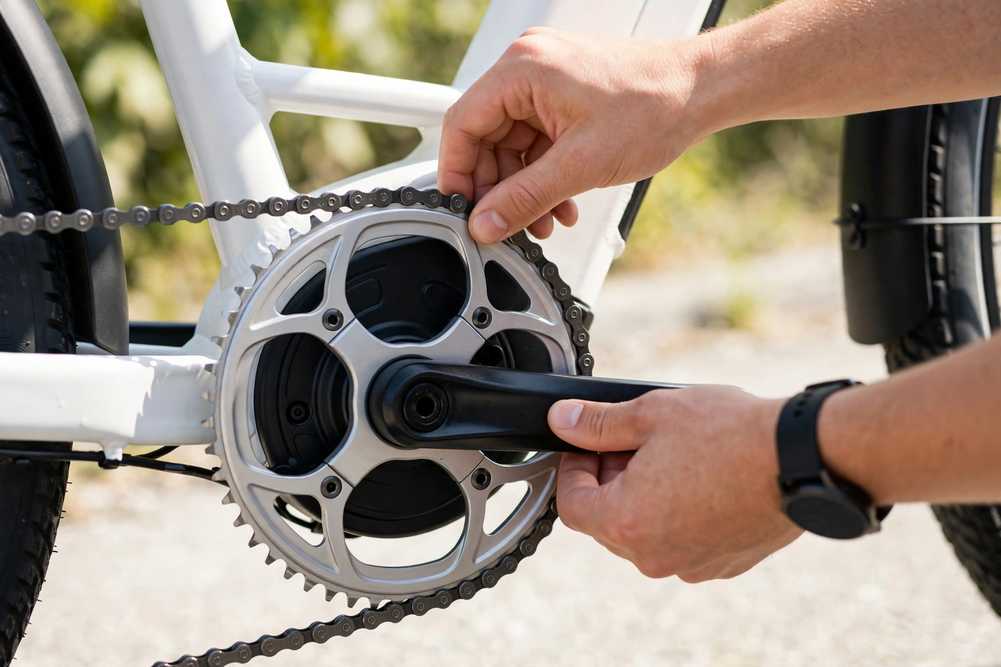
While cleaning, bend the chain sideways and watch each link. A link that does not flex freely is a stiff link, and it will make the chain jump every time it reaches the rear derailleur. Work the link loose with your fingers, or replace that section of chain if it stays stiff.
Step 3: Check Chain Wear and Replace a Stretched Chain
A stretched chain no longer fits the teeth of the chainring and cassette, so it rides up and falls off. Hook a chain wear checker onto the chain. If the gauge drops fully into the links, the chain is worn and needs replacing.
Replace the chain before it wears out the cassette and chainring, because those parts cost far more. E-bike drivetrains tend to wear faster than those on standard bikes, so check the chain more often than you would on a regular bike. If a new chain still falls off, the cassette or chainring teeth may be worn too and need replacing as a set.
Step 4: Fix Chain Length, Tension, and Wheel Position
A chain that is too long or too loose will bounce off the gears, especially on bumpy ground. On a bike with a derailleur (the mechanism that moves the chain between gears), the derailleur spring takes up slack, so a chain that is too long usually means someone fitted it wrongly.
On bikes with a single-speed or hub-gear drivetrain, tension comes from the position of the rear wheel or from a tensioner. Loosen the axle nuts, slide the wheel back until the chain has about 1 cm (roughly half an inch) of up-and-down movement, and retighten evenly. A rear wheel that has slid forward in the dropouts is a common reason for a chain that keeps loosening.
Hub motor bikes need extra care here. Follow your manual’s torque setting for the axle nuts, because the motor’s torque can spin a loose axle in the frame.
Step 5: Check Derailleur Hanger and Derailleur Alignment
A bent derailleur hanger pushes the derailleur out of line and makes the chain fall off during shifts. The hanger is the small replaceable metal tab that attaches the rear derailleur to the frame. It bends easily in a fall or when the bike is knocked over (BikeTips, 2026).
Stand behind the bike and look at the rear derailleur. Its two small pulleys should sit directly under the cassette and line up one above the other. If the cage leans sideways, the hanger or the derailleur is bent. A bike shop can straighten a hanger with a special tool, or you can fit a new hanger for a few dollars.
Step 6: Adjust the Derailleur Limit Screws
Limit screws are two small screws on each derailleur, marked H (high) and L (low), that set how far the derailleur can move sideways. If they are set too loose, the chain can travel past the largest or smallest gear and fall off.
To fix it, follow these steps:
- Work out which side the chain falls off and which derailleur is involved.
- Turn the matching screw clockwise by a quarter turn to tighten the limit.
- Shift through the gears and test again, with the bike on a stand.
- Repeat in quarter-turn steps until the chain stays put but still reaches the full range of gears.
The H screw stops the derailleur moving too far outward, and the L screw stops it moving too far inward. Go slowly. Turning the screws too far creates chain rub and poor shifting, and mis-adjusting the rear derailleur has more potential to damage other parts than the front (BikeTips, 2026). If the screws were already correct, turning them will not solve a dropped chain.
Step 7: Add a Chain Guide or Switch to a Chain-Retention Setup
If the chain still falls off on rough ground, add something that physically holds it in place. This is most useful on bikes with a single chainring at the front (a 1x drivetrain), which is common on e-bikes.
There are three common options:
- A narrow-wide chainring, which has alternating thick and thin teeth that grip the chain.
- A clutch rear derailleur, which adds resistance to the cage so the chain cannot bounce.
- A chain guide, a small plate or roller that blocks the chain from leaving the ring.
A bike shop can fit any of these in under an hour. A narrow-wide chainring only works with the right chain and cassette, so ask the shop to confirm compatibility first.
Common Problems and How to Fix Them
| Problem | Likely cause | Solution |
|---|---|---|
| Chain falls off when you shift under heavy load | Shifting while pedaling and the motor are both pushing hard | Ease off the pedals for a moment as you shift, or lower the assist level before shifting |
| Chain falls off after a fall or knock | Bent derailleur hanger | Straighten or replace the hanger |
| Chain skips and then falls off | Worn chain or cassette | Replace the chain, and the cassette if the new chain still skips |
| Chain falls off on bumps in every gear | Chain too loose, or no retention system | Fix tension or add a chain guide |
| Chain rubs the derailleur cage after adjustment | Limit screw turned too far | Back the screw out a quarter turn |
| Chain falls off the front ring repeatedly | Bent chainring tooth or frame misalignment | Take the bike to a shop |
Frequently Asked Questions About an E-Bike Chain Falling Off
The most common reasons are a stretched chain, a bent derailleur hanger, and wrongly set limit screws. Dirt, a stiff link, and a chain that is too loose also cause it. Note where and when it happens, then work through the steps above in order.
The motor does not push the chain off directly, but it adds torque that exposes weak points. A slightly worn chain or loose derailleur setting that holds up on a regular bike can fail under motor assist. Shifting while the motor is pushing hard also strains the chain.
Turn the bike off and lift the rear wheel. Place the chain on the smallest rear gear, then hook it over the top of the chainring and turn the pedal by hand until it seats. If it will not go on, shift the derailleur to ease the tension first.
Replace it when a chain wear checker shows it is stretched, not on a fixed date. E-bike chains wear faster than standard bike chains because of the added torque, so check every few hundred miles. Replacing a worn chain early protects the more expensive cassette and chainring.
It is not safe to keep riding. A chain that drops mid-pedal can cause you to lose balance or jam against the frame. It can also damage the motor mount or the frame. Fix the cause before you ride again.
Go to a shop if the chain still falls off after you have cleaned it, checked wear, checked tension, and adjusted the limit screws. A bent chainring tooth, a frame problem, or a bent hanger that needs a special tool to straighten is a job for a mechanic.
Quick Recap: The Order to Fix an E-Bike Chain That Falls Off
- Note where and when the chain falls off.
- Clean and lubricate the chain, and free any stiff link.
- Check chain wear and replace a stretched chain.
- Fix chain length, tension, and rear wheel position.
- Check the derailleur hanger and alignment.
- Adjust limit screws a quarter turn at a time.
- Add a chain guide or narrow-wide chainring if the chain still jumps.
References
- BikeTips, “How to Fix a Dropped Bike Chain (and Prevent It)”: https://biketips.com/how-to-fix-a-dropped-chain/
- BikeTips, “How to Put a Bike Chain Back On”: https://biketips.com/how-to-put-a-bike-chain-back-on/
- iFixit, “Bicycle Chain Keeps Coming Off”: https://www.ifixit.com/Wiki/Bicycle_Chain_Keeps_Coming_Off

Leave a Reply